Frappe Manager Installation
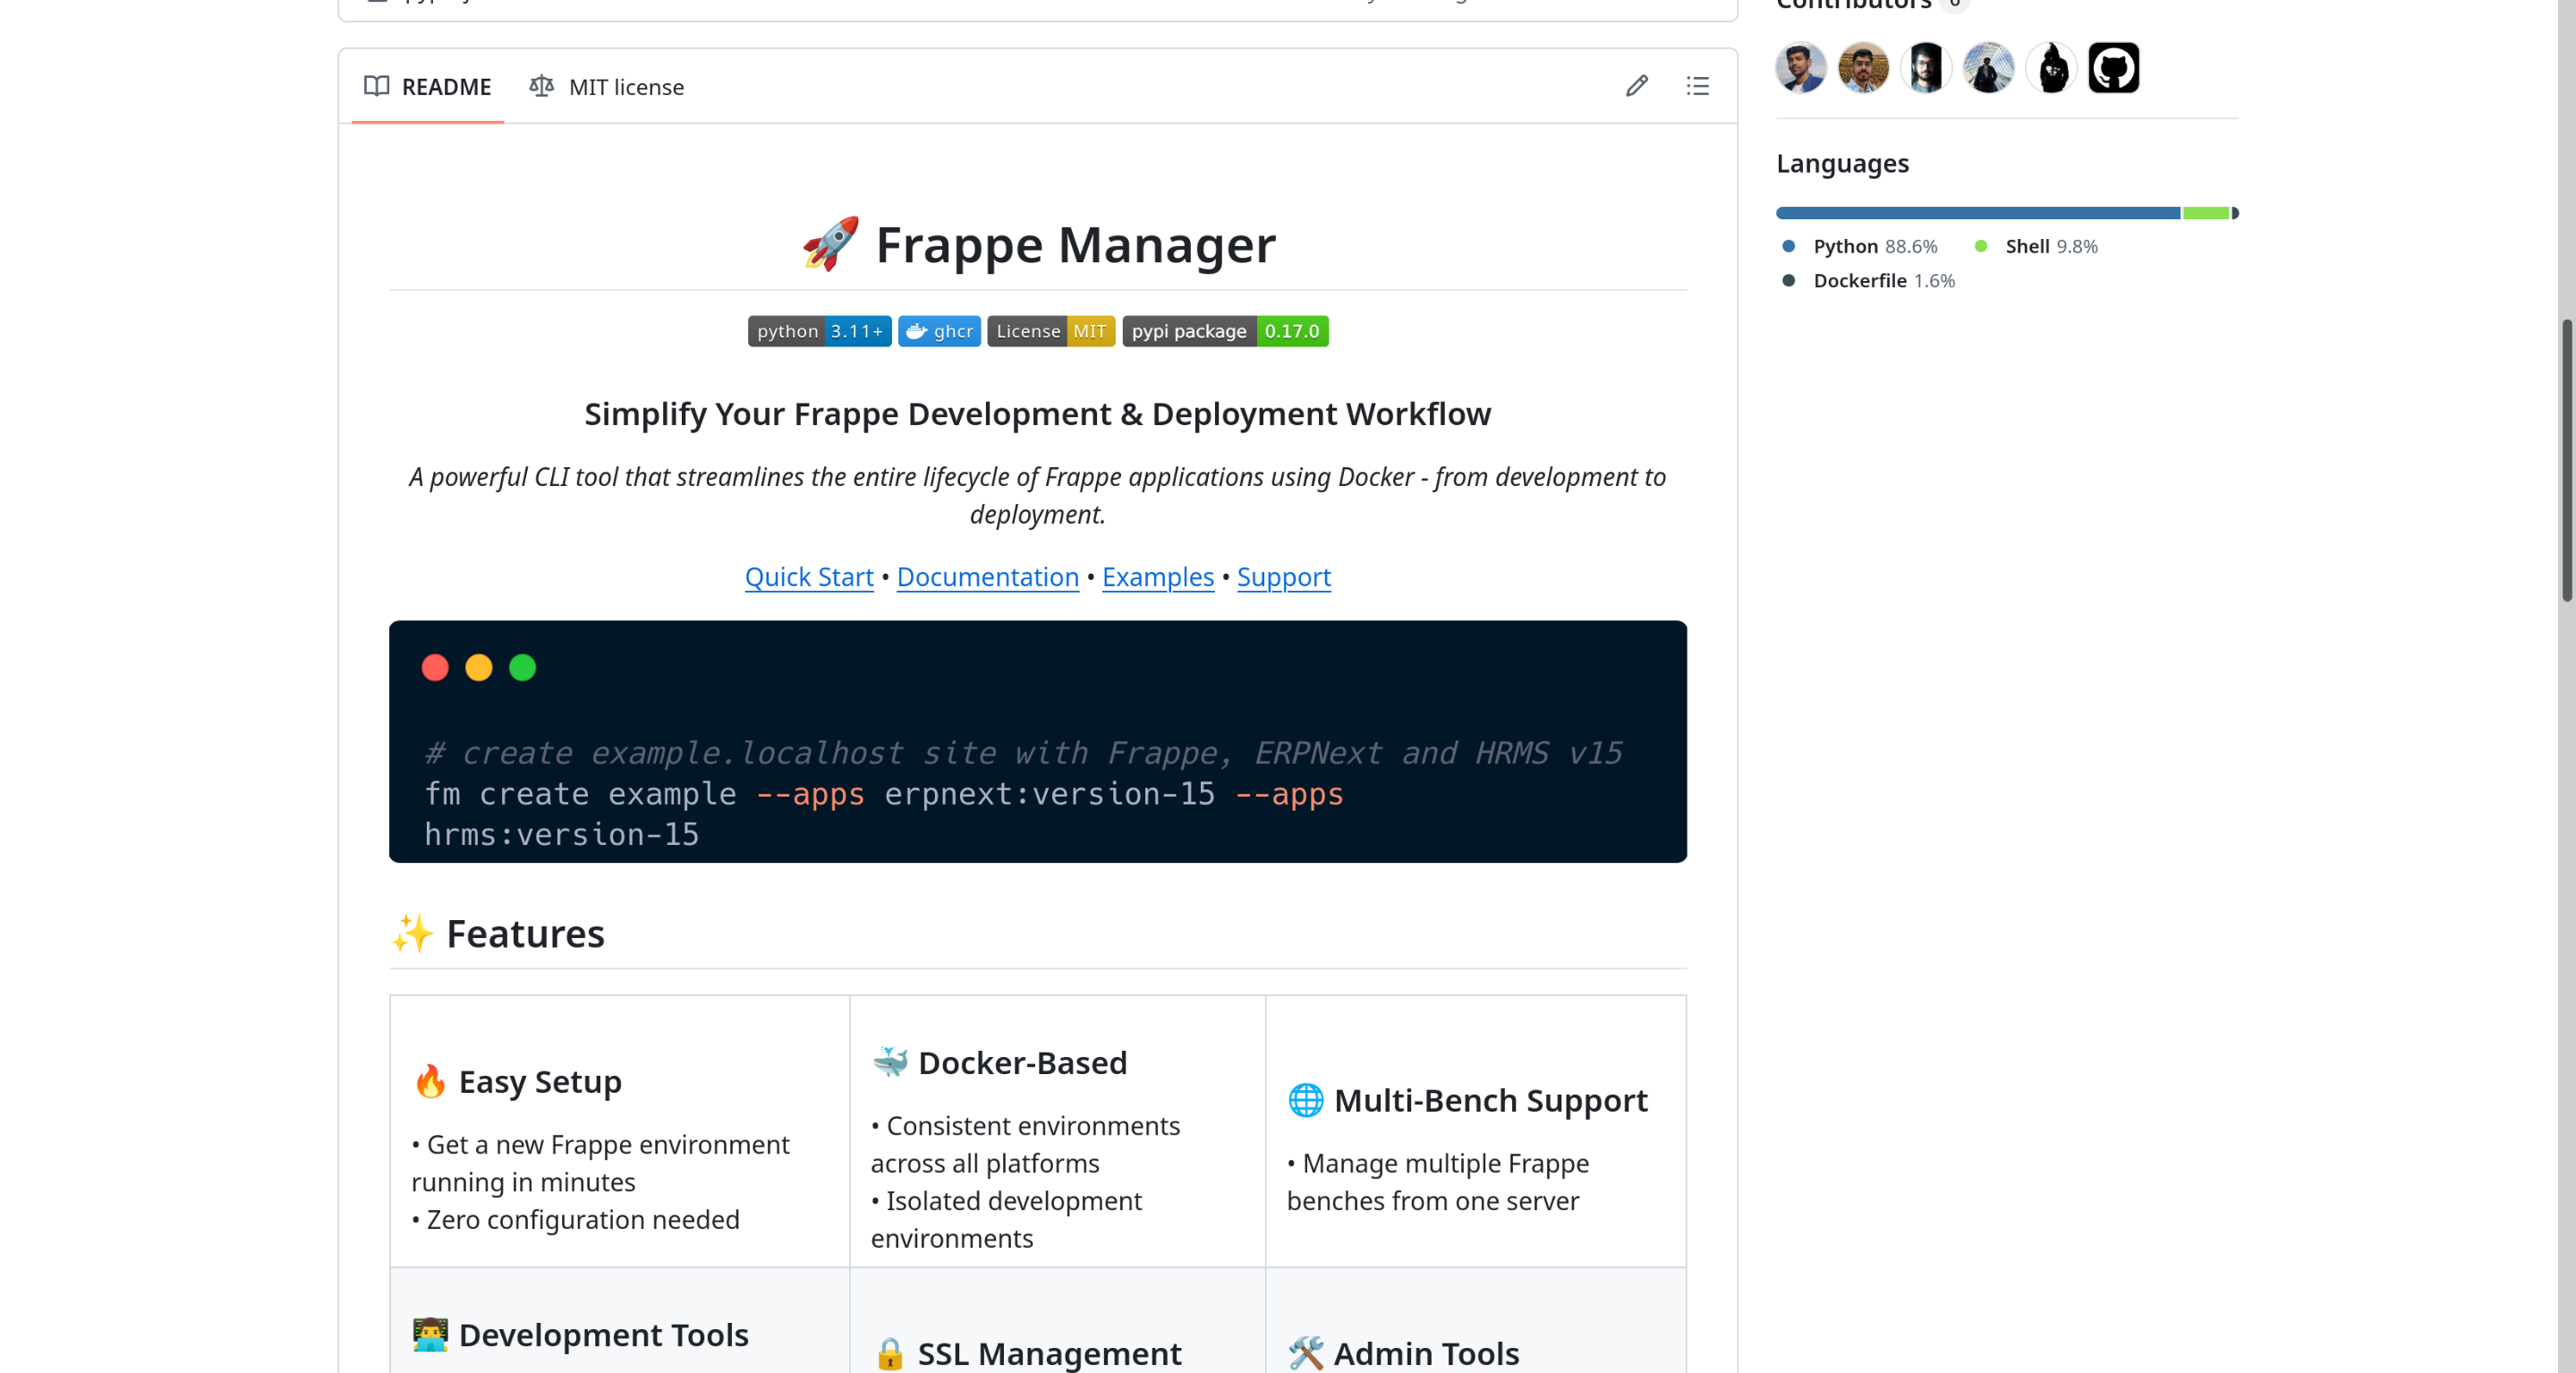
Frappe Manager is a community-driven command-line tool officially maintained by rtCamp. It simplifies setting up and managing Frappe and ERPNext development environments using Docker containers. With Frappe Manager, you can run multiple isolated Frappe sites and versions on a single machine without conflicts—combining the power of local development with the cleanliness of containerization.
Prerequisites
Before you begin, ensure the following tools are installed:
- Python 3.11+
- Docker Engine and Docker Compose
- Windows Users Only: Ensure WSL2 (Windows Subsystem for Linux) is installed and enabled
Note on Docker Installation
When setting up Frappe Manager, your choice of Docker environment depends on your operating system:
For Linux (e.g., Fedora, Ubuntu): It is strongly recommended to install and use the native Docker Engine (often installed via your distribution’s package manager, e.g., dnf install docker-ce on Fedora). Avoid installing Docker Desktop on Linux if you plan to use the native Engine, as running both simultaneously often leads to conflicts, port binding issues, and unnecessary overhead.
For macOS: You must use Docker Desktop for Mac. Docker containers require a Linux kernel, which macOS does not natively provide. Docker Desktop for Mac seamlessly provides the necessary virtual machine and manages the Docker Engine within it, along with essential features like port forwarding and filesystem sharing.
Step 1: Install Frappe Manager
We’ll use pipx to install Frappe Manager in an isolated environment.
Install pipx (if not already installed):
python3 -m pip install --user pipx
python3 -m pipx ensurepath
Install Frappe Manager:
# Install stable version
pipx install frappe-manager

# Or install the latest development version
pipx install git+https://github.com/rtcamp/frappe-manager@develop
Set up shell completion:
fm --install-completionVerify installation:
fm --versionYou should see an output like the one below:
| |
Step 2: Create a New Site
# Create a new site named frappe-bench
fm create frappe-bench

# Open in VSCode with debugging enabled
fm code frappe-bench --debugger
This creates a new site:frappe-bench.localhost
Installed apps can be found at:/sites/frappe-bench.localhost/workspace/frappe-bench/apps
📖 Refer to the official documentation for advanced options.
Step 3: Start the Environment
Start all services (web, scheduler, etc.):
fm start frappe-benchYou can now access your site at:http://frappe-bench.localhost
🔐 Default Login Credentials
Username: Administrator
Password: admin
⚠️ You should change this password immediately after your first login for security purposes.
Basic Frappe Manager Commands
Check Website Status
fm listExample output:
| Site | Status | Path |
|---|---|---|
| frappe-bench.localhost | Active | /home/user/frappe/sites/frappe-bench.localhost |
Stop the Environment
fm stop frappe-benchRun Bench Commands
Use fm bench to run commands directly inside the containerized bench:
# Open shell inside the bench
fm shell frappe-bench

# Inside the shell
─frappe@frappe-bench.localhost ~/frappe-bench
╰─➤ <your command>

# To exit
exit
View All Available Commands
fm --help📚 Additional Resources
⚠️ Disclaimer
While this guide offers a simplified installation walkthrough, always refer to the official rtCamp GitHub Wiki for proper installation, configurations, updates, and troubleshooting.